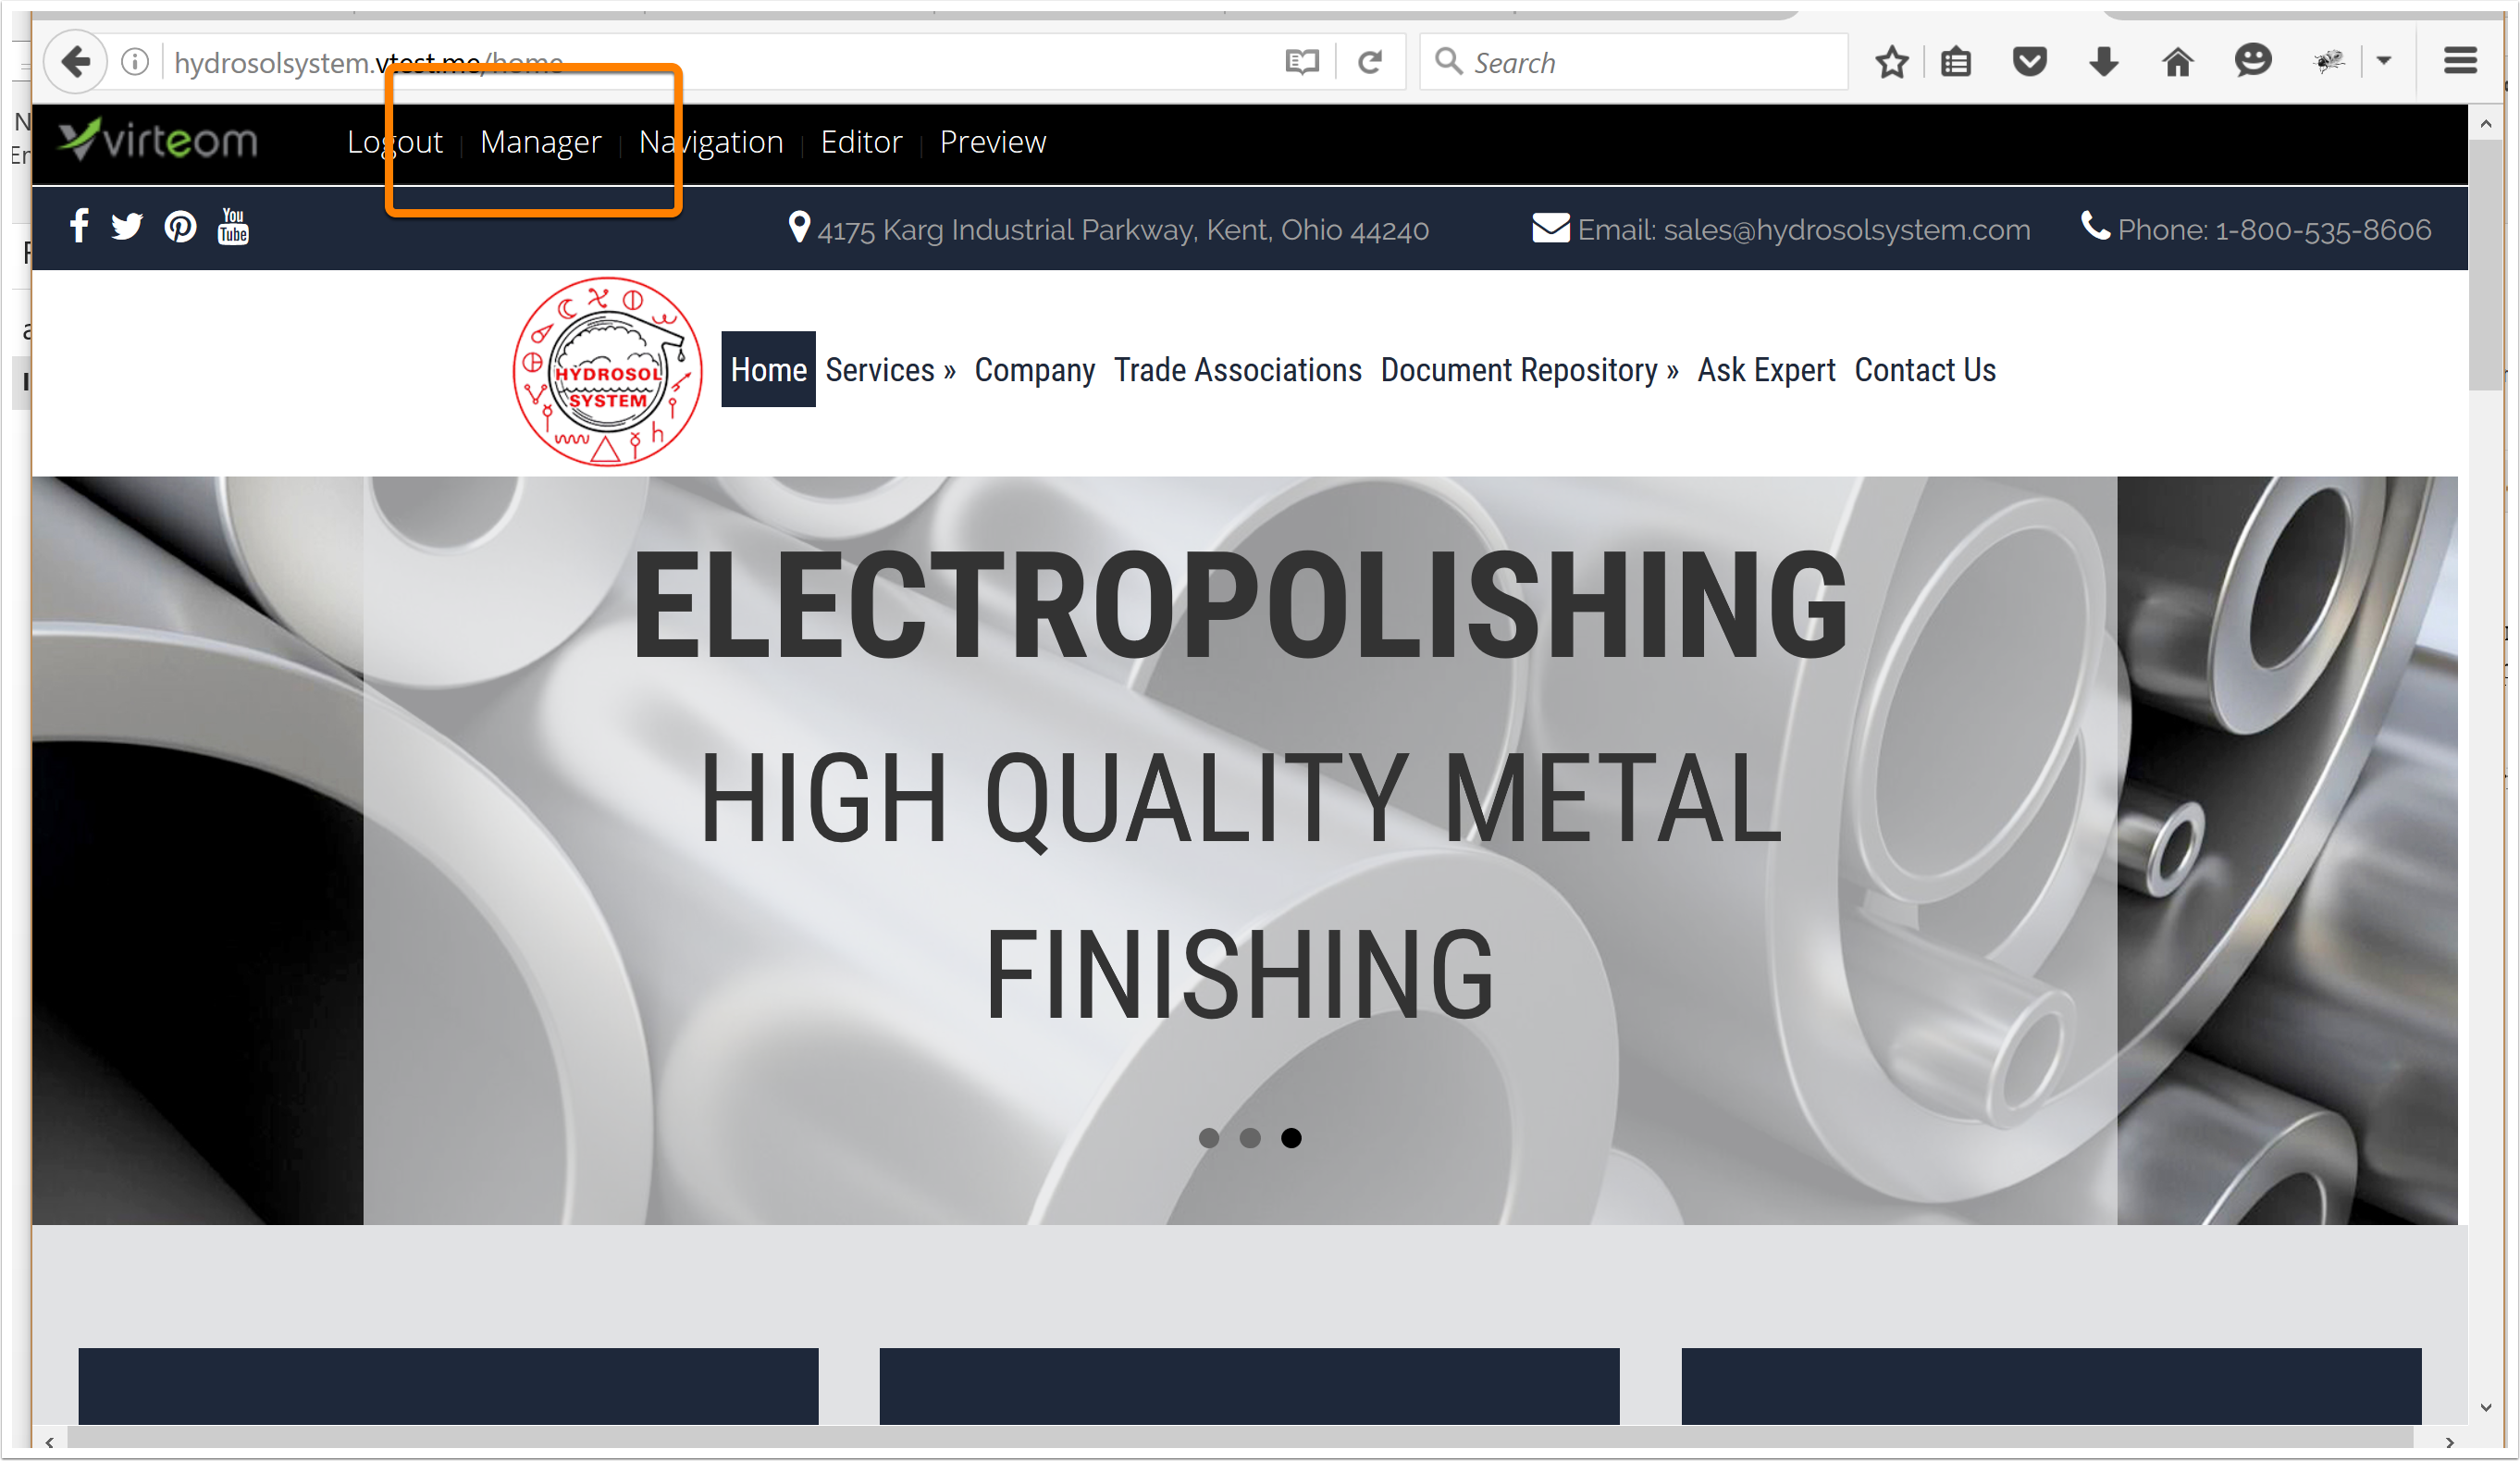
Click on "Forms" on the left hand side

Click "Add New" to create a new form

Create your Form
1. Name your form
2. Select the pages you'd like it to show up on. You can choose multiple pages; however, the form can only be placed into one specific editable zone [each page can have up to 20 zones, and the zones are numbered by little black and white circles with numbers in them.]
3. Change the text that shows up on the "Submit" button. You can say "Submit", "Send", or whatever you'd like! Please note: The button text has a character limit. If you find your button text is cutting off, please contact Virteom support.
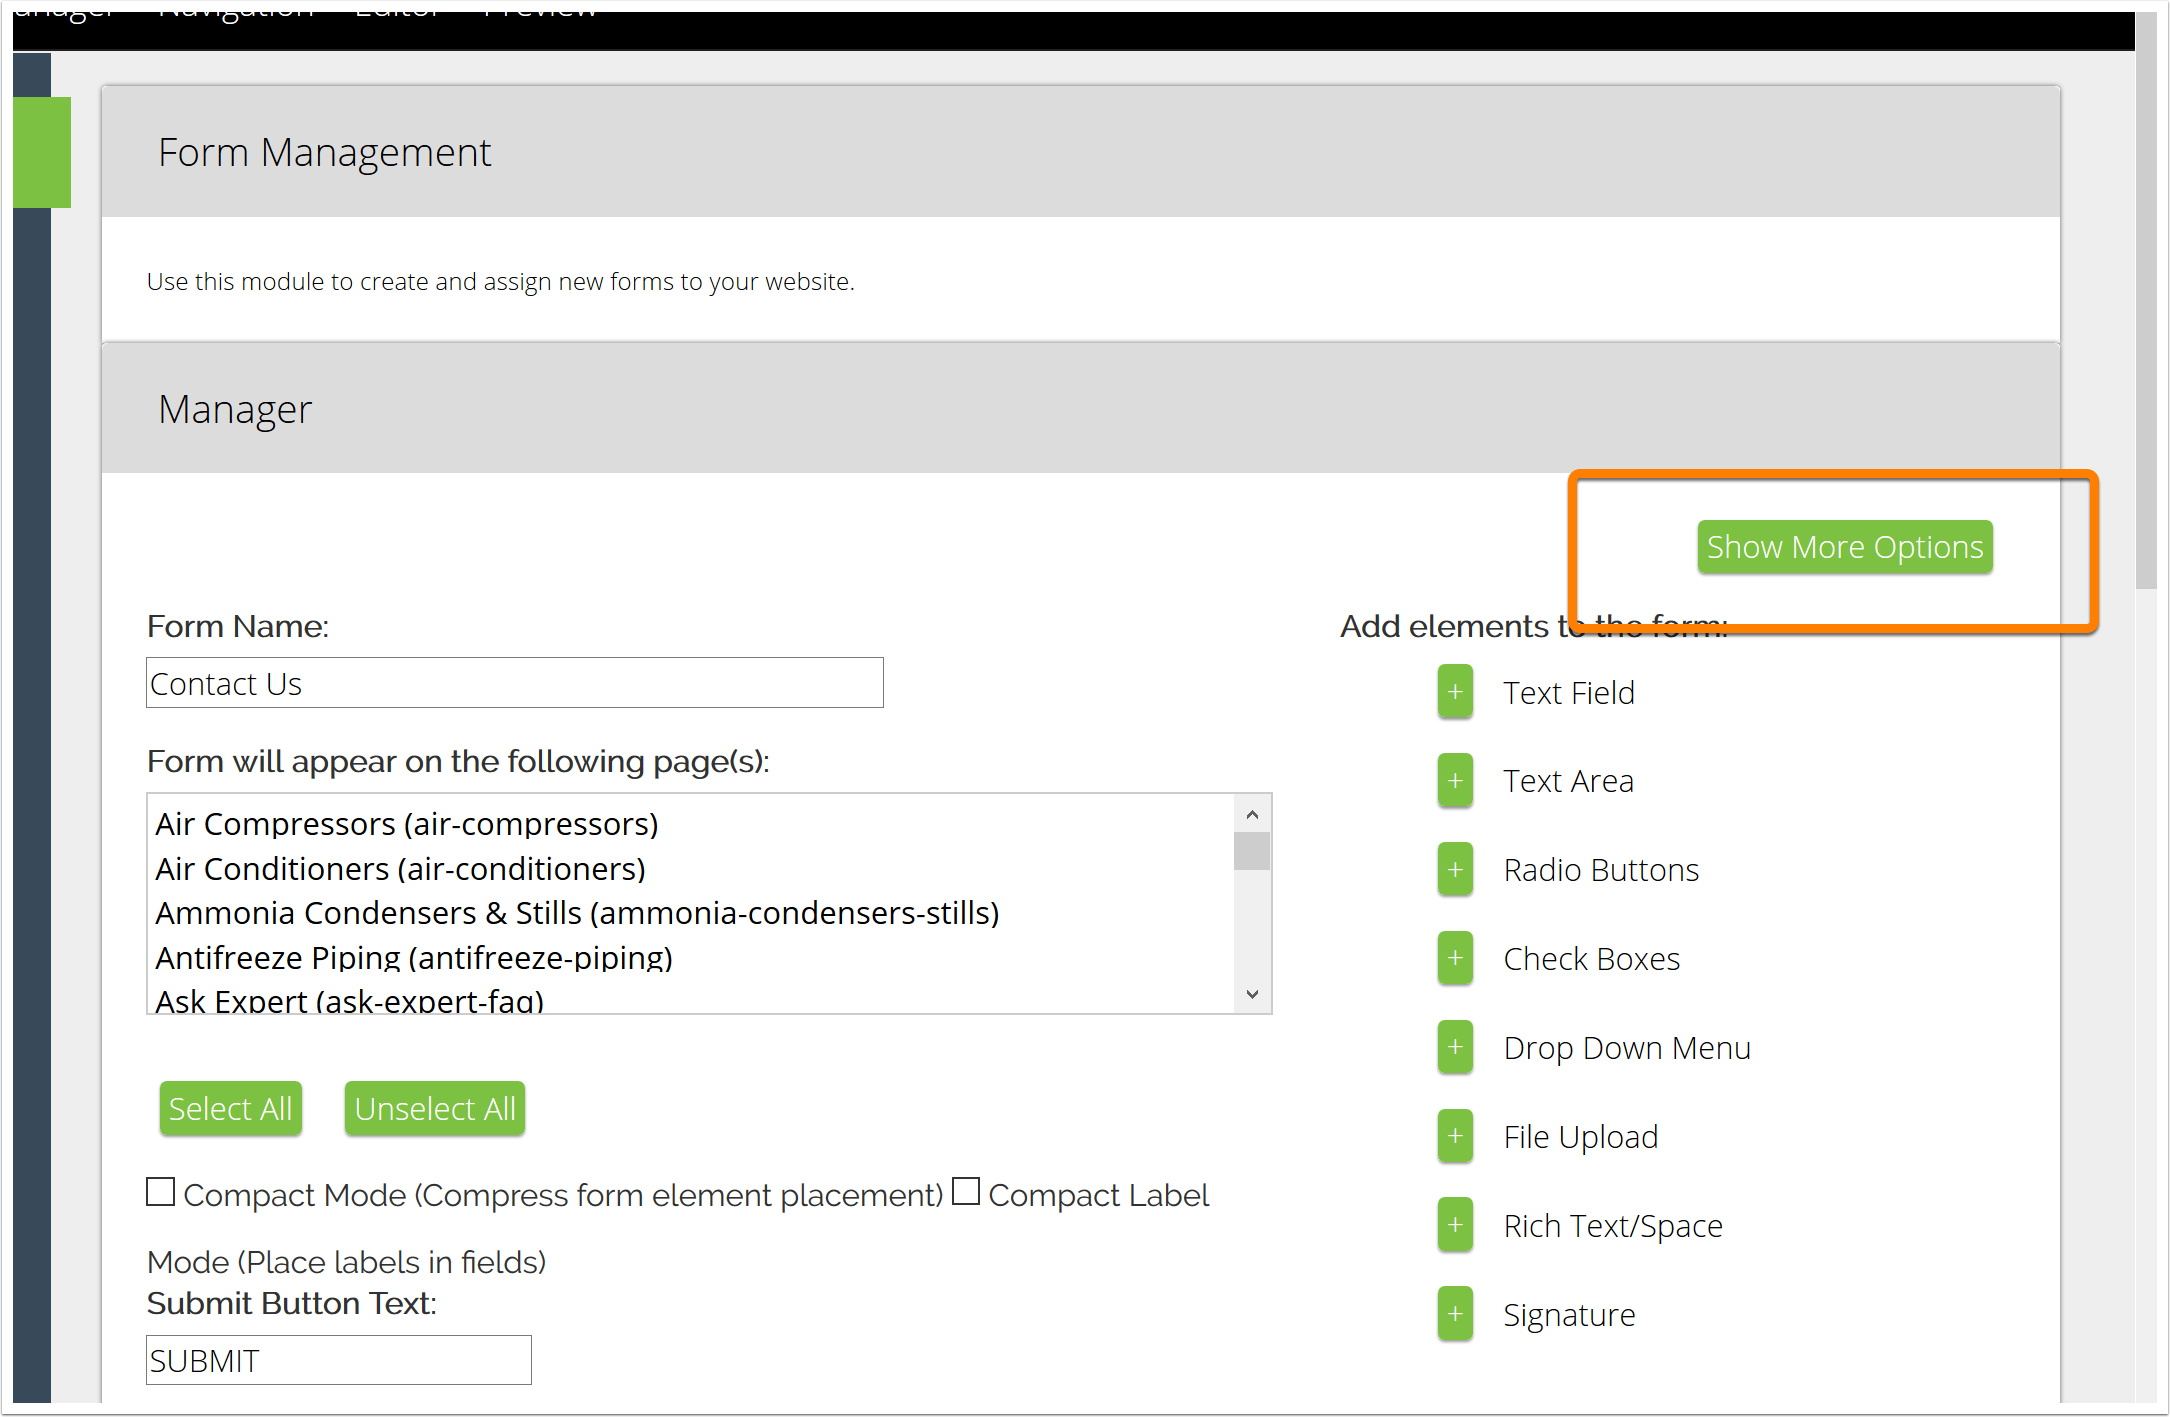
4. If you'd like, you can select these optional options.

Select the region and save
Select the region you'd like this to show up on. Typically if you have a one column layout then you only have one zone [or the top zone is the first zone]. If you're using a two column layout then generally the left column holds Content Region 1 and the right column holds Content Region 2.
Then Click "SAVE FORM INFORMATION"
You will need to refresh the page to see your newly created form.

Now Add Fields to Your Form
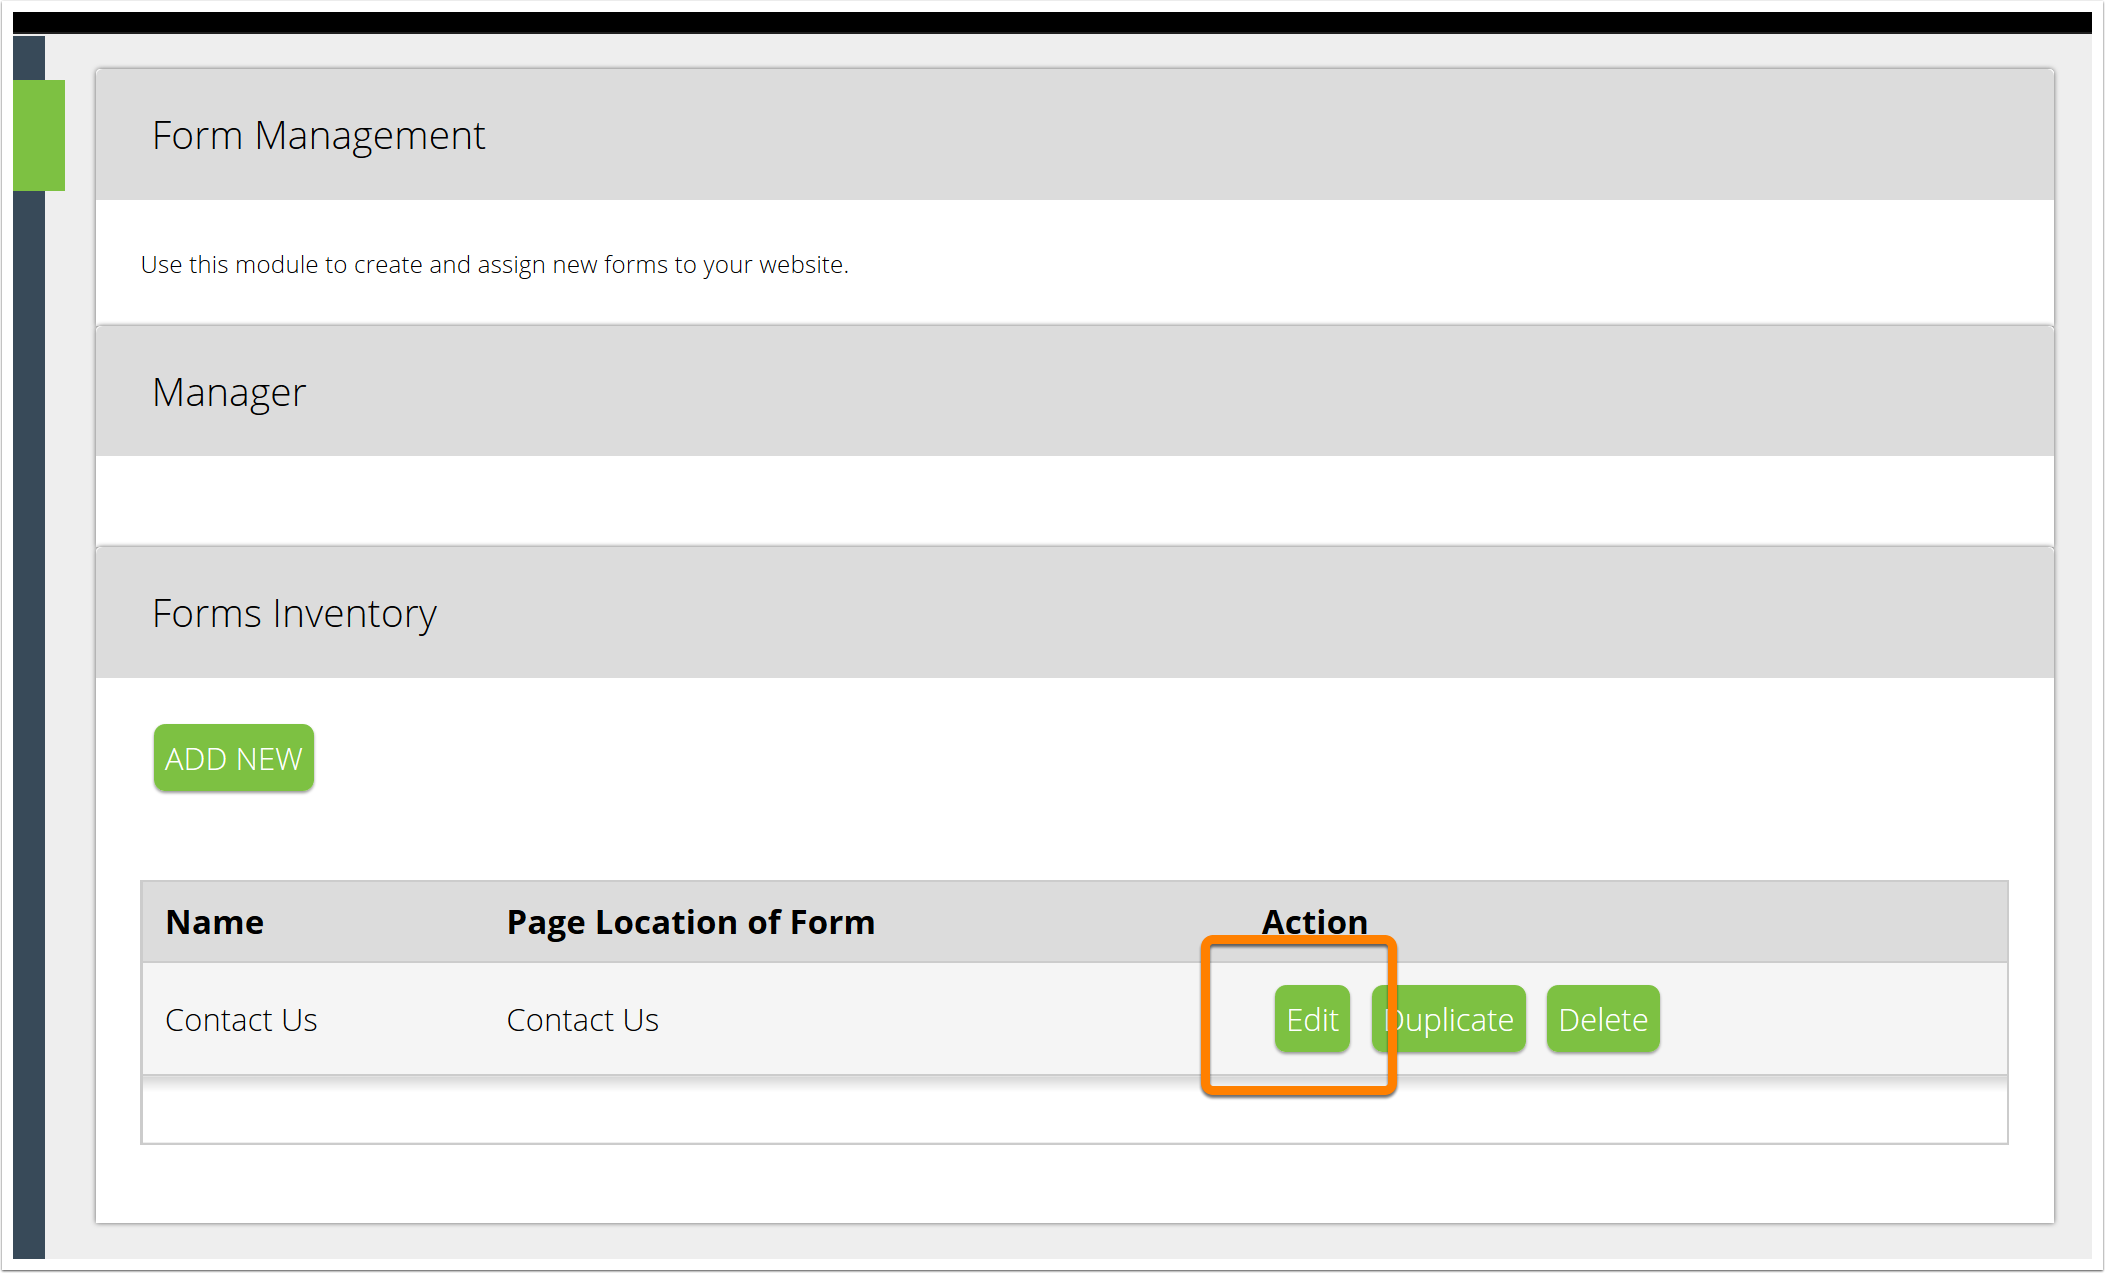
Now that your form is created you can go into it and add the fields you'd like to collect data for.
Do this by clicking on "Edit"
You can Add lots of things!
Click the "+" on any of these elements to add them to your form.
- Text Field: This is used for typical user entry items like First & Last Name, Email, Address, City, State, etc. Any field the user is only required to enter 1-2 words or phrases.
- Text Area: This is used for comments/questions, etc. Anything that requires a more lengthy response from the end-user.
- Radio Button: A radio button is typically used for 'Yes' or 'No' responses. This type of input is used when you only want one reply from the end-user.
- Check Boxes: Checkboxes are typically used when you want to allow the end-user to select multiple items.
- Drop Down Menu: A drop-down menu is typically used when you allow the end-user to select 1 item from multiple choices.
- File Upload: The file upload element is typically used when you request some type of file from the end-user.
- Rich Text/Space: Rich text areas are typically used to provide the end-user with more direction. These are typically used above radio buttons & checkboxes to inform the customer what their selections are for. Additionally, you can use these as a line-break between form fields.
Note*: It is required that you add an "Email" to the form, this is the most basic form element you can use. You will add that by adding a "Text Field"

Add an Email Text Field
After you add the field you can edit it by clicking on the edit button.

-
Element Label: This is the front-facing item the end-user will see. In the case above, we're requesting they enter their email.
-
Character Limit: This is how many characters the end-user will be allowed to enter in this form field. For simple Text entries, we recommend no more than 100 characters. For something like a Rich Text Edit zone, you may want to do 500-999. We do not allow more than 999 characters due to spamming / security reasons.
-
Variable Name: The variable name for your form fields stores gives your element a unique name - which allows developers to give that element a specific style or it can be used for tracking purposes. The variable name is extremely important for 2 element types:
-
Radio Buttons: All variables need to be the same for one choice of options. For example, if you're asking the user to answer Yes or No to a question, the variable information on both Yes and No should be the same thing. While your element labels will respectively be 'Yes' or 'No' the variable name should be something like choice1 or yesorno1 for both items. It is what groups these two items together and allows the system to know that they have a choice between those two (or more) options.
-
Checkboxes: When you're giving the end-user options to choose from, the variable name for the like-elements need to be the same. While the element label will be different, all the variable names should be the same. For example, say you're asking the end-user 'What color is your house? Select All That Apply', your element names may be 'Red', 'Yellow', 'Blue', or 'Green' - but the variable name for all these elements would be colorofhouse.
-
-
Character Type: This is either:
-
Alphanumeric: Use this if you want your end-user to be able to enter symbols, numbers and letters.
-
Alpha: Users are only able to enter letters A-Z
-
Numeric: Users are only able to enter #s
-
Email: This is used for an email field type Please note: All forms must request Email as a form entry and have 'Email' set as the character type.
-
Null: This is used for third-party integrations.
-
Always make sure to click "SAVE FORM INFORMATION" when you're done!
Manage what happens after a user clicks "SUBMIT"
Now that your form is created you'll want to configure what happens after someone clicks "Submit"
1. Find your newly created form and click "Edit"

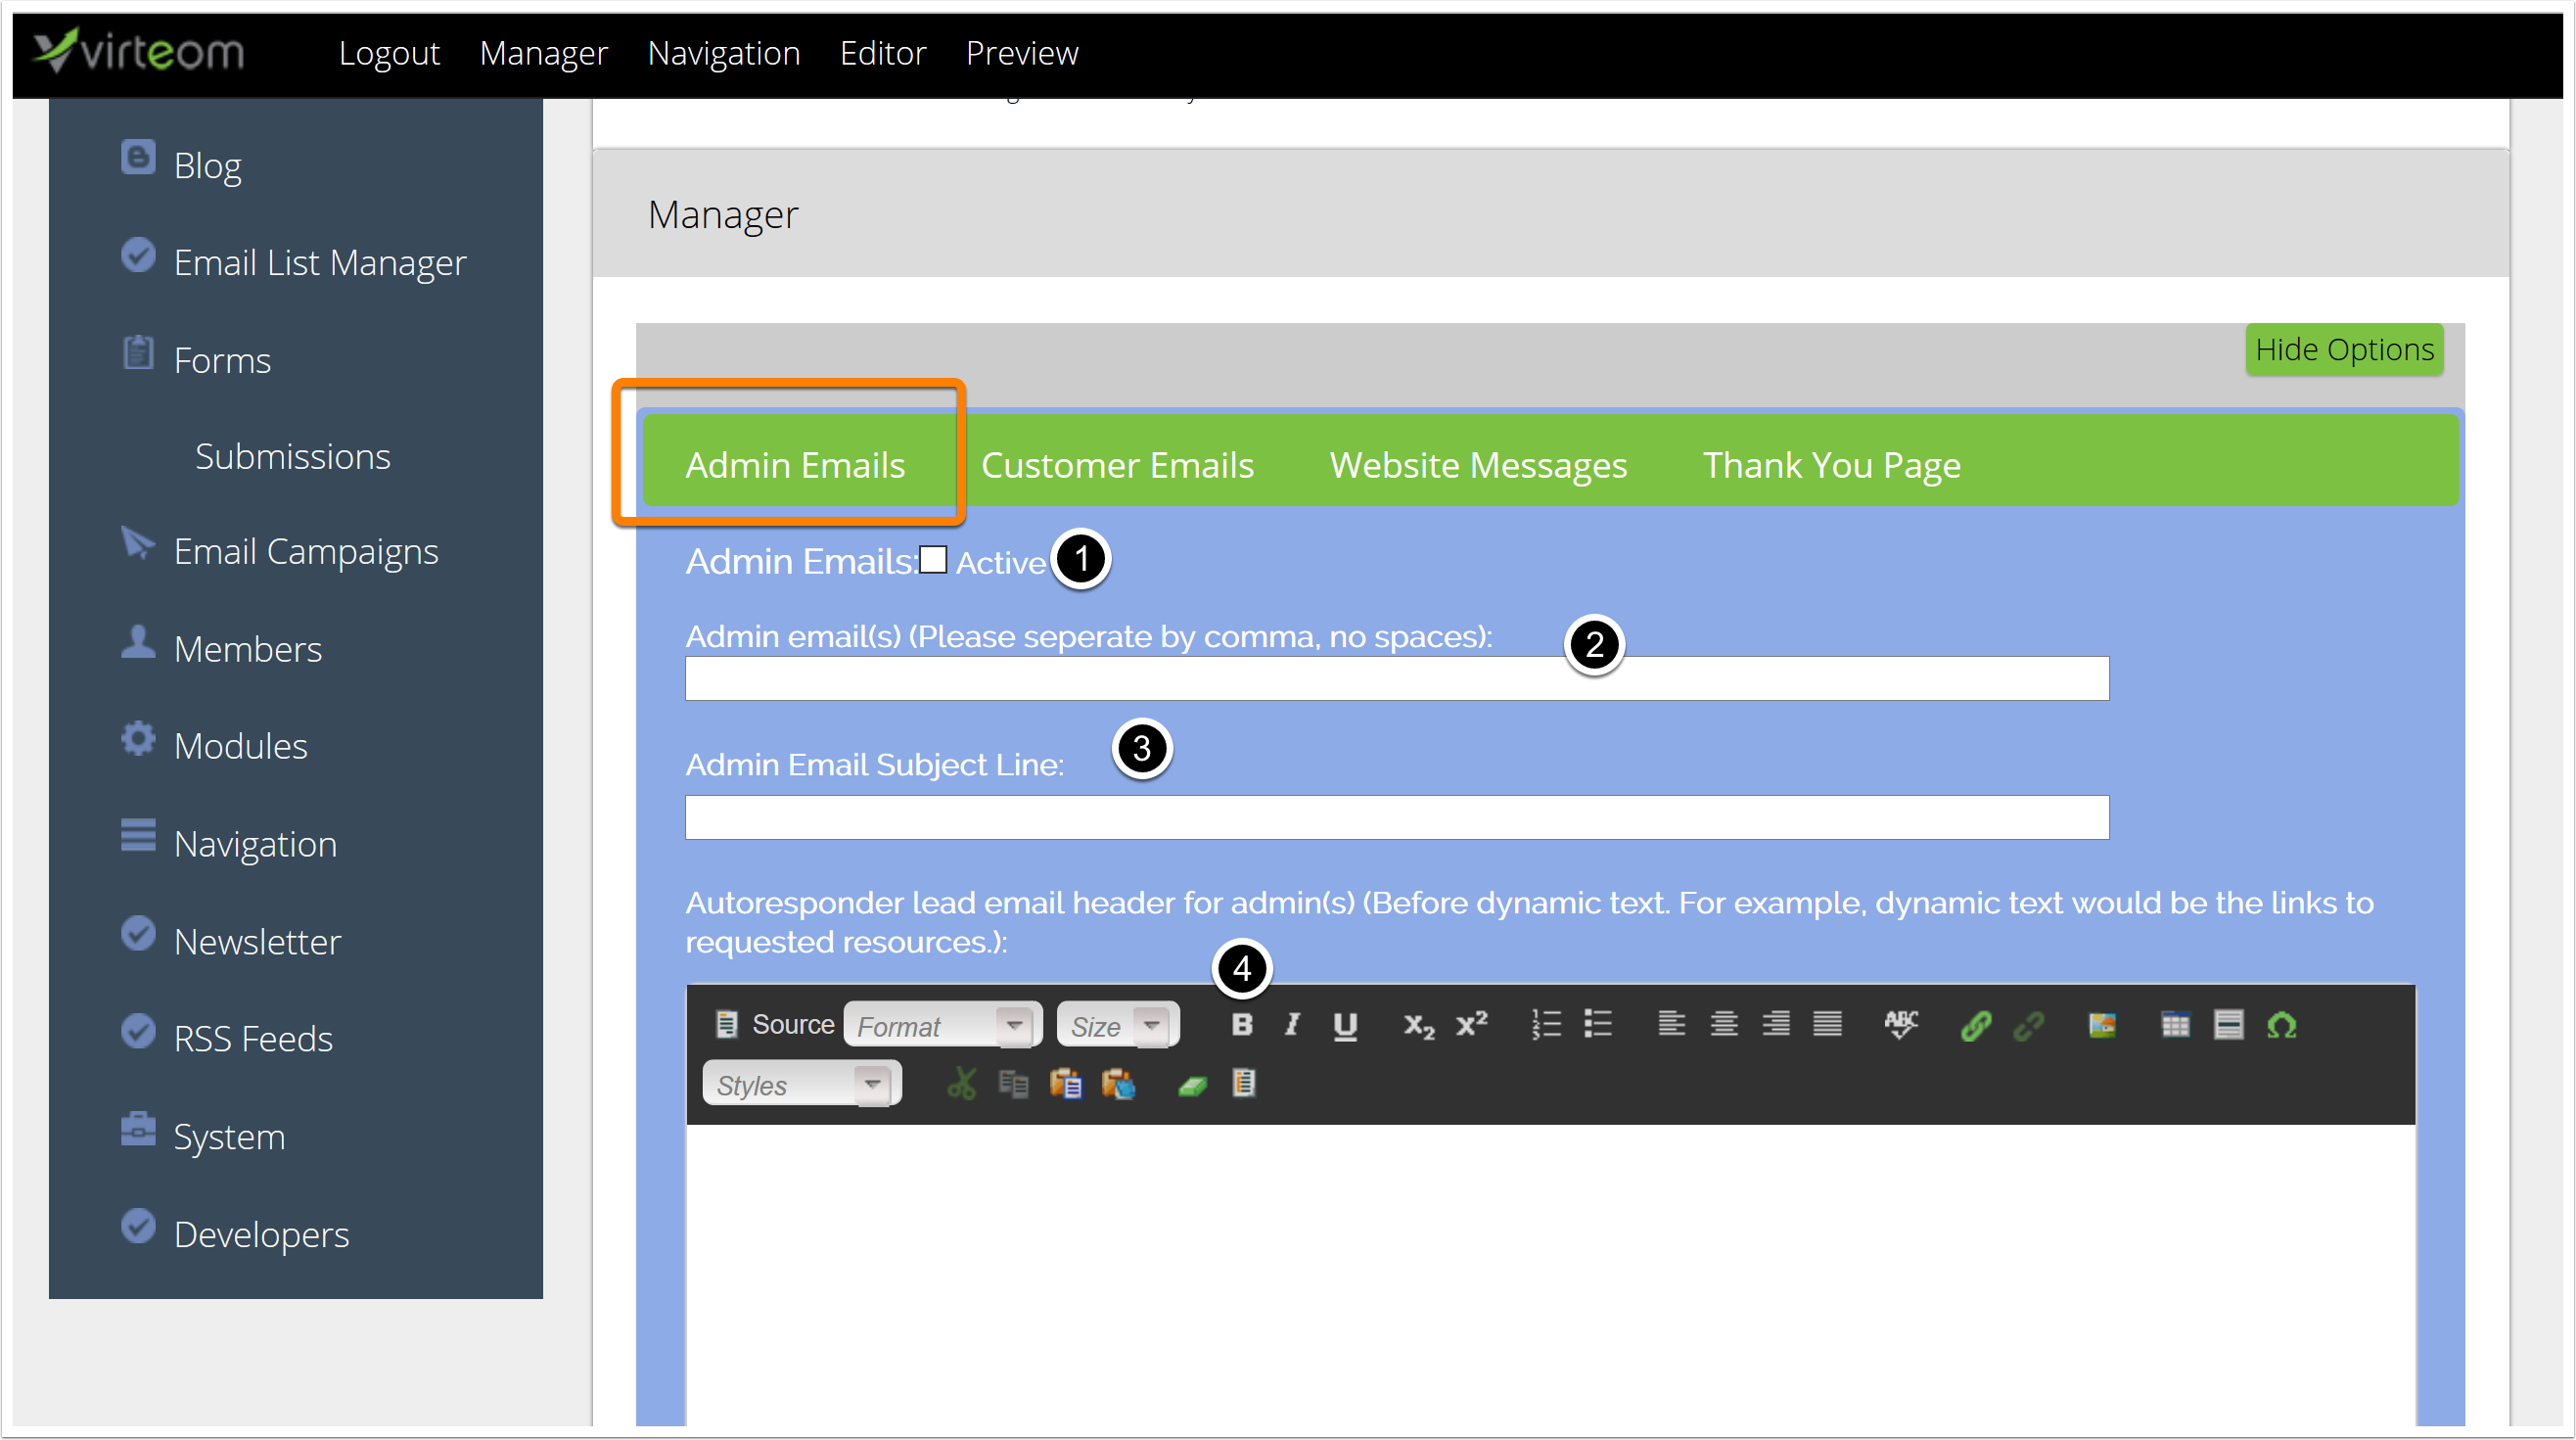
Configure "Admin Emails"
If you'd like to send members of your team an email when a visitor fills out your form, type their email address in #2.
You'll also want to check "Active" to ensure they're going to get sent.
3. Fill out a subject line for the email
4. Make a subject body. You can say things like "Someone has filled out your form!" Underneath that our system will automatically send the information the visitor filled out in the form.
More Admin Options
You can add a footer to your email, integrate third parties, etc.
Then click Save Settings!

Send Customer Emails
Second verse, same as the first! Except this time, it's for your customers. If you'd like your customers to receive an email when they click "SUBMIT", this is where you'd note that.
To activate customer emails, click off the 'Active' button below & follow the steps above - enter a subject line and then click 'Save' at the bottom.

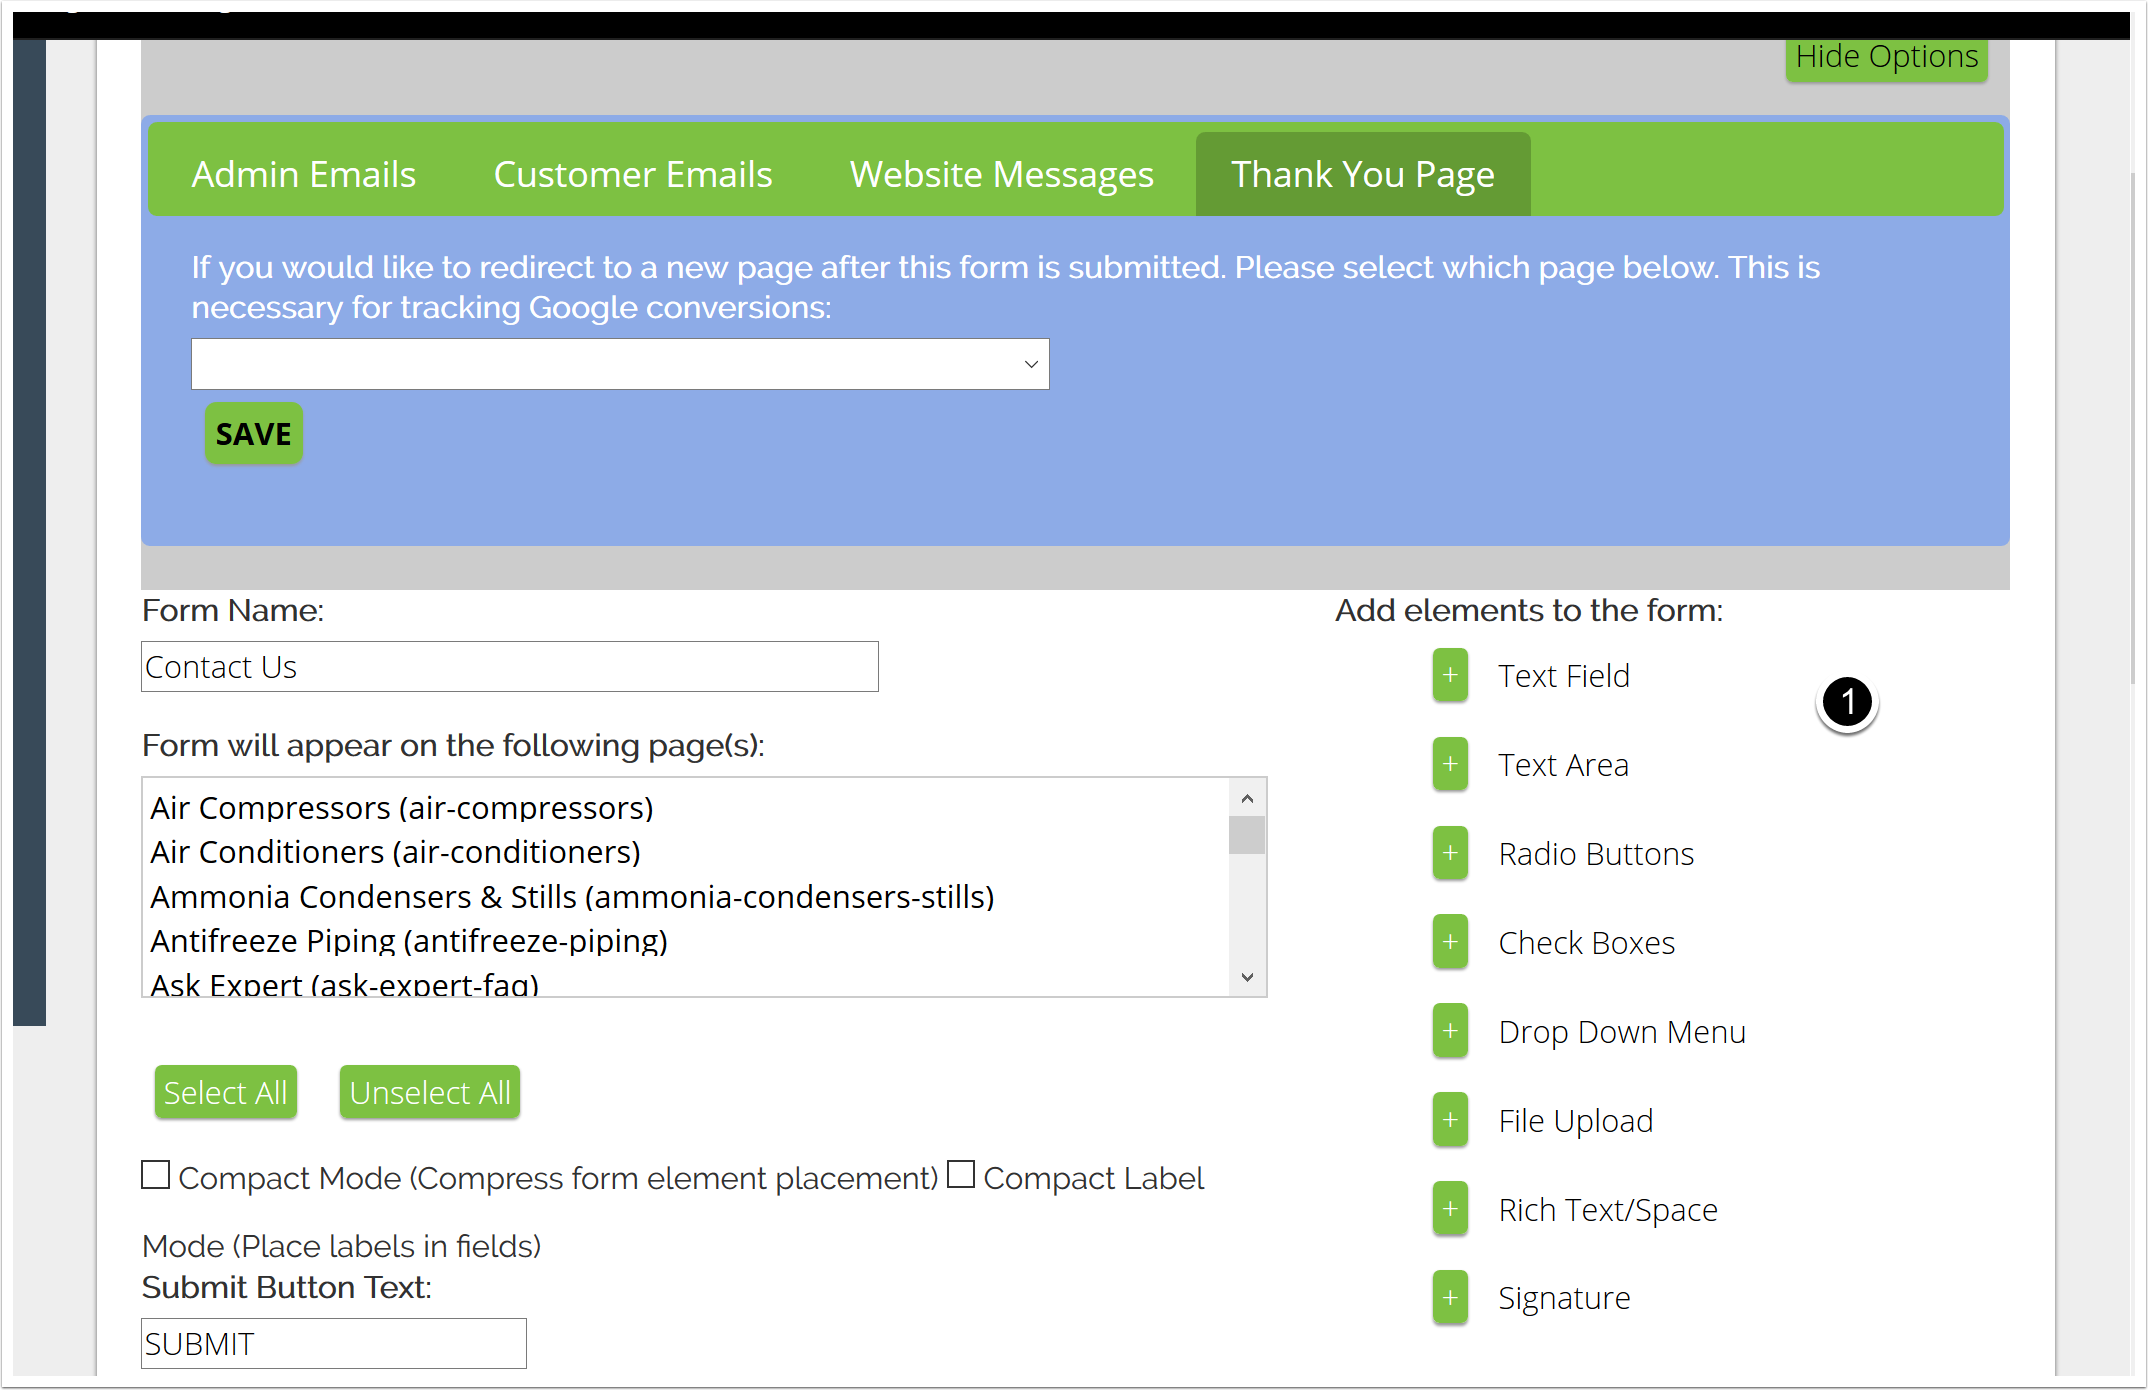
"Website Messages"
Here is where you can put information that will show up right on the page when the visitor clicks submit. Typically you'll say something like "Thank you for filling out our form! Someone will be in touch soon!"

Thank You Page
You can also redirect your visitor to a page after they click submit. Maybe you want to have a form that, after the visitor fills it out they get put on a page with a coupon. After you've created this page you can select it from the drop-down. You can also use this for Google conversion tracking.